Tuesday, October 6, 2015

Lamp To My Feet, Light To My Path - Bible Journaling

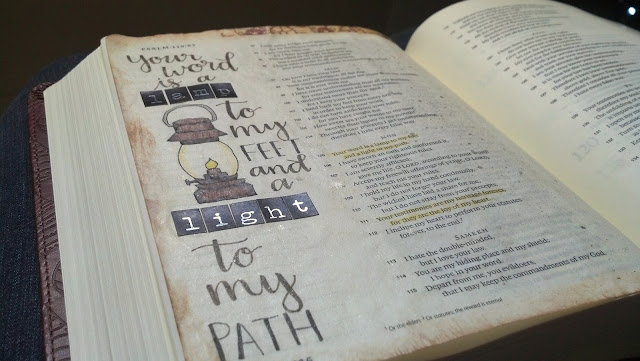
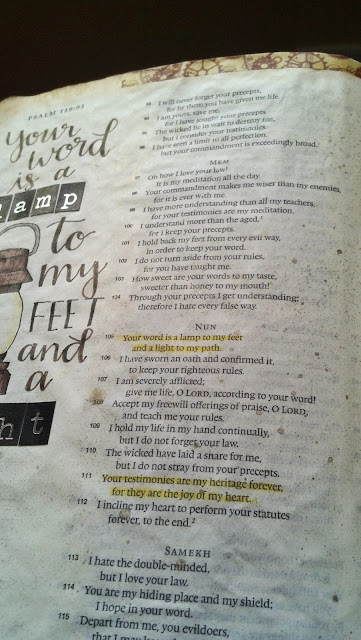
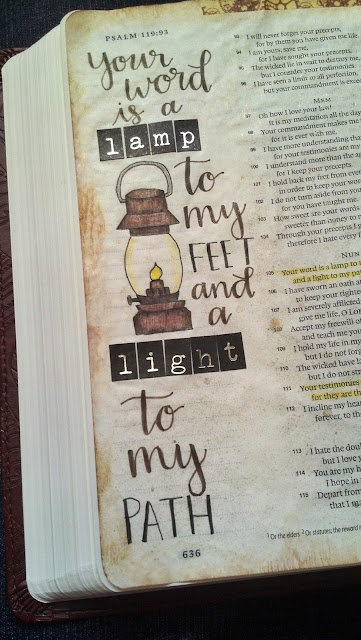
I just got my journaling Bible last week and I have really enjoyed working on a few different pages in it. I really love the concept of drawing out what is on your heart and mind in your Bible. I think for creatives or people who are visual it is the perfect way to really connect with what you are reading and studying. I thought I would share one of the pages I did this past week with you. I was reading in Psalms 119.

Psalms 119:105 "Your word is a lamp to my feet and a light to my path"


Materials Used:
+ Matte Gel
+ Micron Pens
+ Colored Pencils
+ Stickers
+ Washi Tape
+ Distress Ink Pad
+ Perfect Pearls Mist

The first thing I do before I start creating on a page is prep it. I apply a thin coat of  Liquitex Matte Gel or Clear Gesso. Next, I lightly sketch out my design with a pencil. Then outline with my Micron pens. The Microns are great to use especially if you plan on painting or applying any liquids. They dry fast and don't smudge or bleed. The black lettering was done with a 01 size pen and the brown lettering was done with a 03. I added my letter stickers and colored the lamp with colored pencils.


Once I had the main design down, I wanted to add a little texture to the page. I lightly sponged around the edges of the page with my Tim Holtz Distress Ink pad in Vintage Photo. Then I spritz some water to activate the ink and give it a distressed look. The last thing I did was add a fine gold mist over the page. I used the Perfect Pearls Mist in Heirloom Gold. It gave the page a light shimmer and dimension without over powering the page. I added a little strip of washi tape at the top that way I can easily find which pages have been journaled. 


I hope you enjoyed the page! If you have any questions feel free to leave a comment on here or Instagram (@inkbirdhandmade).


Wednesday, July 8, 2015

Watercolor Pencils Over Marker

Hey Everyone!

I thought I would show you a technique I like to use in some of my mixed media and journaling projects. Using a watercolor pencil over top of markers allows you to create a really nice subtle wash of color and light shading.

I first start by outlining my design in pencil and then used a couple of different weighted Micron pens to go over it.

After I have the design outlined, I colored it in with my Spectrum Noir alcohol markers. I really love using these markers! They are a little bit cheaper alternative to Copic markers. They blend really well and there's a wide variety of color sets. The newer versions are also refillable and they come with a chisel tip on one end and a bullet tip on the other. I used markers out of the "browns", "greens" and "pale hues" sets. 


Once I have it colored with the markers I use my set of water color pencils to color over certain areas, adding shading and accent colors. These Stadetler water color pencils are extremely versatile! There are so many different things you can do with water color pencils, and a million different ways to use them. 


For this project, I went over the water colored pencil with a small craft brush lightly dipped in water. I wanted just enough water on my brush to blend the color into the marker, but not dilute the shading to much. 


Here is the finished page! Using watercolor pencils are a great way to add some light details to your work. If you try out this technique, tag me with your creation! I'd love to see how you use it.